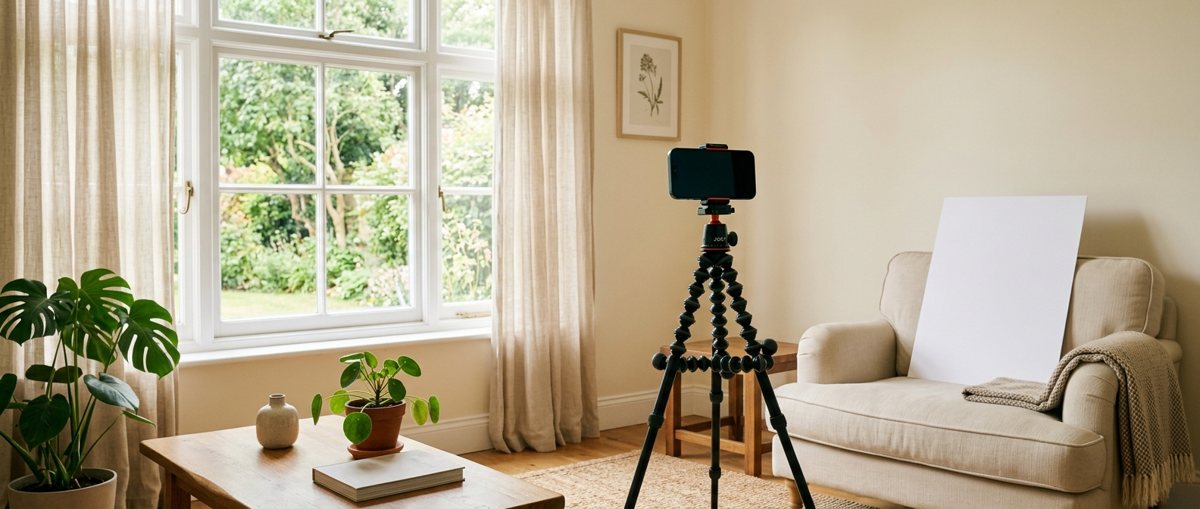
A good headshot depends far more on light than on equipment. Modern phone cameras are sharp enough; the job is to give them soft, even light and a clean background.
What you need
- Phone with a rear camera
- Tripod or a stack of books
- A window with indirect daylight
- A plain wall
- White poster board (optional)
7 steps to a DIY headshot
Face a window
Stand 3–4 feet from a window with soft, indirect light on your face. Avoid direct sun; an overcast day is ideal.Put a plain wall behind you
Stand a few feet in front of it so your shadow falls away and the wall goes slightly soft.Set the camera at eye level
Use a tripod or books. A lens just above eye level is the most flattering angle.Use the rear camera and a timer
The rear camera is sharper than the selfie camera. Set a 10-second timer or use burst mode.Frame from mid-chest up
Leave room above your head; it's easier to crop tighter later than to add space.Take a lot of shots
Make small changes to your chin, shoulders and smile between frames. Fifty shots for two keepers is normal. Pose ideas.Edit lightly
Adjust exposure and crop. Skip beauty filters; they make headshots look less trustworthy.
Common mistakes
- Overhead lighting. Ceiling lights put shadows under your eyes. Turn them off and use the window.
- Camera too low. Shooting from below adds a chin. Raise the phone to eye level.
- Selfie-camera distortion. Arm's length makes noses look bigger. Use a timer and step back.
- Cluttered background. Shelves and doorways distract. Swap it afterward if you have to.


Good shot, messy room?Upload the photo you took and swap the background for a clean studio or office blur.
Change the background